Exploration · Technology
MyTwin-Boom
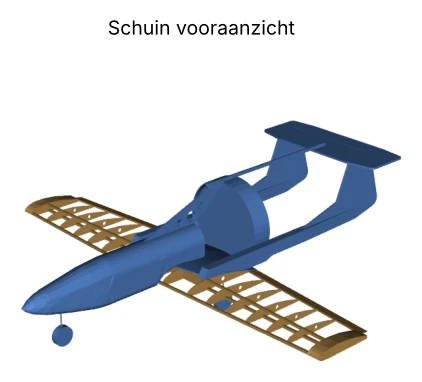
A twin-boom pusher airframe I'm planning to build from wood and carbon fibre — manual and RC flight first, autonomy later, once it's proven in the air. Currently modeled in CAD as HERO135.
Why a twin-boom pusher
A twin-boom pusher keeps the nose clear for a camera or sensors, since the propeller sits behind the pod instead of in front of it. Two slender booms carry a shared tail, which keeps the structure light without needing a single long, heavy fuselage.
It's also a good airframe to learn construction on before adding autonomy — the same configuration already exists as a selectable airframe in MySimulation, so I can check sizing and handling before cutting any wood.
Materials & construction
Status
✓ Done
Settled on the twin-boom pusher configuration and checked its handling in MySimulation.
In progress
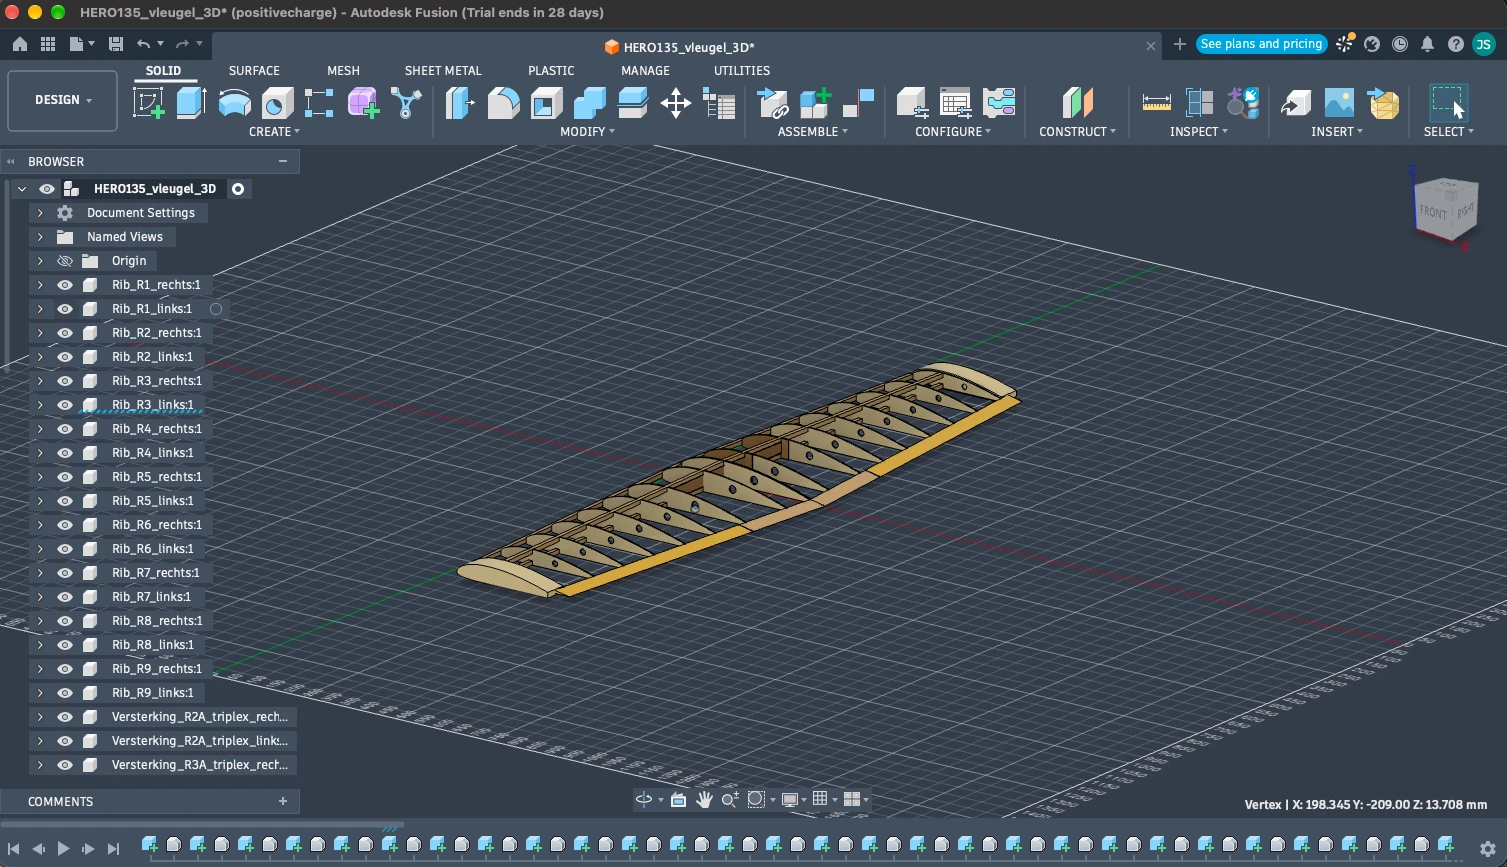
Modeling the airframe (HERO135) in AutoCAD Fusion and generating DXF files from it for laser-cutting the wood parts — balsa, triplex and lime wood (linde).
Open
Laser-cutting and assembly, first RC flights, and — later — a flight controller and sensors to bring it into the MyDrone autonomy stack as a fixed-wing UAV.
First steps in AutoCAD Fusion
I'm modeling the plan first: the airframe geometry in AutoCAD Fusion, working out ribs, formers and boom mounts before anything gets cut. This is my first real project in AutoCAD Fusion, so a good part of the “work” right now is just learning the tool.
Each part then exports to DXF for laser-cutting — the wing ribs below are one of the first results.
Plan
- Size the airframe: wing loading, boom length, tail volume.
- Export DXF files from AutoCAD Fusion and laser-cut the wood parts.
- Assemble the balsa, triplex and lime-wood pod and wing structure.
- Fit carbon-fibre boom spars for stiffness without added weight.
- Install servos and control linkages, then first RC flights.
- Once proven in manual/RC flight, add a flight controller and sensors to fly it as an autonomous fixed-wing UAV.
Looking ahead: mission code
The kind of flying this airframe is headed for.
Once MyTwin-Boom is flying RC and ready for an autopilot, missions like this one — a MAVSDK-Python figure-eight pattern, the same stack I'm using on MyDrone — are what the “Add autopilot” and “UAV” phases above are aiming at. An excerpt:
    angular_speed = args.speed / args.radius  # rad/s, approximate
    dt = 1.0 / rate_hz
    t = 0.0
    elapsed = 0.0

    print(
        f"Flying figure-eight: radius={args.radius} m, altitude={altitude_m} m, "
        f"speed={args.speed} m/s"
    )

    while duration_s is None or elapsed < duration_s:
        north, east = _lemniscate_point(args.radius, t)
        next_north, next_east = _lemniscate_point(args.radius, t + angular_speed * dt)
        yaw_deg = math.degrees(math.atan2(next_east - east, next_north - north)) % 360

        await drone.offboard.set_position_ned(
            PositionNedYaw(north, east, -altitude_m, yaw_deg)
        )

        await asyncio.sleep(dt)
        t += angular_speed * dt
        elapsed += dt